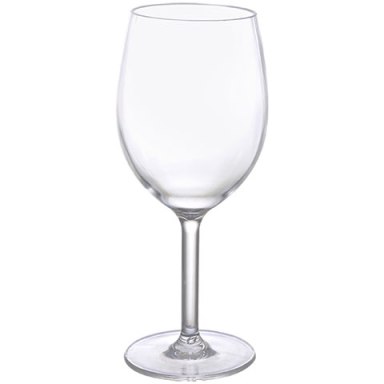
This simple DIY project can be a thoughtful gift or a beautiful decoration for your beach-themed home! Below are photos of all the supplies you will need along with a list of materials to get you started!
MATERIALS:Wine Glass (glass not plastic) – I purchased my wine glasses from The Dollar Tree
Sea Glass Spray (I used Krylon, but another brand is fine, color choice is up to you)
Glitter Blast Spray (I used Sparkling Waters, but you can choose your color)
Glitter Blast Spray Sealer or Other Clear Sealant
Mod Podge (can be glossy or matte)
Foam Brush
Sand (you can use real sand or sand purchased from the craft store)
Jute ribbon (color, variety is up to you)
Charm (you can buy any kind of charm you choose, you can find them in the jewelry section of the craft store)
Tacky Glue (I prefer to use the clear variety)
E6000 Glue
Thin Wire or Elastic String (optional for attaching charm)

In the photo above, you can see that this tealight holder also has a variation … you can place the tealight on top or underneath, depending on what effect you desire. Below are general directions for making this project. Enjoy!
DIRECTIONS:
- Preparations – Gather all of your supplies and cover your workspace with a tablecloth or paper. I recommend doing all your spraying outside or in the garage because of the fumes. Also, to prepare your wine glass wash it with warm water and soap and then clean it off with rubbing alcohol on a cotton ball (this helps to remove dust particles and make sure there is nothing on the surface of the wine glass to keep the paint from adhering).
- Painting with Sea Glass Spray – Spray and apply even coats. Spray in sweeping motions side to side, with light event coats, slightly overlapping each spray for the best results. I sprayed one coat then let it completely dry before spraying another coat. Two coats might be enough, but it depends on how dark you prefer the finished look. Keep in mind you will be covering the body of the glass with glitter spray, so you do not need to spray as much there.
- Painting with Glitter Blast Spray – Basically the same directions as above. Be careful not to spray too hard on any one particular spot because you do not want your glitter to be uneven or gloppy. I did a few coats of the glitter blast spray, allowing it to fully dry in between. DO NOT spray the bottom or stem with glitter blast spray, and if possible, leave a small area of the body uncovered (for sand).
- Adhering Sand – Once your glass is completely dry, you will apply the sand to the bottom of the body of the glass (glass turned upside down). To do this, you will need your mod podge and a foam brush. Paint on Mod Podge around the edge of the glass where you want to apply sand. Paint it on pretty thick, but you do not want it to drip. Quickly, before it dries, hold your glass by the stem and sprinkle the sand on the Mod Podge, covering it completely. Shake off the excess. Let it dry completely, but if there is not enough sand to your liking, you can add another coat.
- Sealing the Paint & Sand – Once the sand has completely dried, take your project outside and spray the entire glass with a clear sealant. One coat should be enough! This will protect the paint, glitter, and sand from coming off your glass.
- Adhering the Finishing Touches – Now it’s time to decorate your wine glass with the finishing touches. Here is where you really get to be creative and make it your own! Gather your embellishments – jute, glue, charms, shells, beads, etc. Before you glue anything on, I highly recommend figuring out your design, measuring out the length needed for your jute, etc. For the jute, you will simply apply some of the tacky glue to the stem and wrap the jute around in a single layer, pushing firmly so it sticks. You may want to let this dry before you continue to the next step. For the charm, you can use a small piece of thin wire or elastic string to tie on your charm around the base of the stem or you can attach your charm using the jute (you will need to string it on before gluing down the end of the jute). For the shells, you will need to use the E6000 glue, which is a much stronger glue. Lay your glass on its side and apply one shell at a time. Let dry completely before standing up your glass.
Below is another sample I made, this is one I made for my home. I recommend using battery-operated tealights (for safety purposes).

I hope you enjoy making this project. Please share your completed projects with me on my Pinterest page (you can find this blog post there). Also, feel free to comment with any questions you may have regarding this project. Happy Crafting, Kristina


I love altering things and you did a fabulous job on these….so pretty. I hope you enter them in Crafter’s Castle challenge 🙂 Hugs…Janie crafterscastle.blogspot.com
LikeLiked by 1 person
Aww thank you! I will check out your blog and challenge:)
LikeLike
How beautiful and creative😊
LikeLiked by 1 person